Retriever training drills can be done both inside and outside. Here are four drills that can help improve your retriever’s skills
Obedience is crucial for retriever training. It serves as a foundation for better performance at home and in the field. Regular practice of obedience drills is necessary, but it need not be time-consuming. Just 5-10 minutes a day can yield excellent results.
There are several obedience drills that you can do with your retriever, which can be done regardless of the weather and location. These drills can be done inside or outside, making them convenient for any situation.
What lead or leash to use for obedience training retrievers
Although I personally dislike using leads or leashes, I understand their importance in training an obedient retriever. Many people make the mistake of discontinuing the use of leads too soon, resulting in the need to repeat previous lessons and potentially creating a “lead wise” dog. It is important to avoid this by continuing to use leads during training. However, it is not necessary to constantly hold onto the lead – much training can be done with the dog simply dragging the lead.

Choosing the right lead for retriever obedience is crucial for successful training
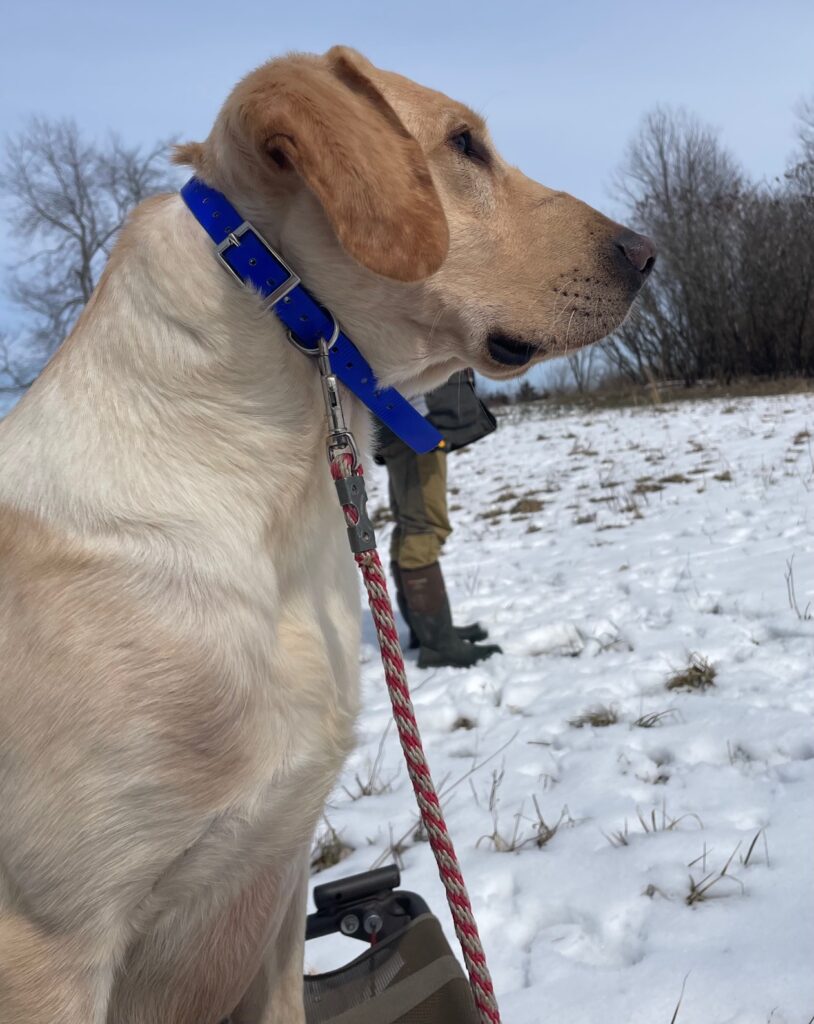
For training puppies and adult dogs that don’t come when called, I use a 50-foot lead to ensure I can reel them in if they refuse my command. This length is also necessary for retrievers so that I can guide them back to me after retrieving an item. However, most of my training is done with a 6-15-foot lead. Once a retriever is obedient, I switch to a short tab lead, around 6 inches, that I can hold in my hand. Here is a recommended leather tab lead.
I use tab leads for my dogs during training and long marks to reinforce obedience and steady work. It also helps with their work to and from the boat, blind, or line. Many people stop using tab leads too early. I avoid leads with loops because they can be dangerous if they hook onto an obstacle while the dog is running or swimming to retrieve.
When it comes to choosing the right collar for retriever obedience
To teach your retriever obedience, it is important to use the right collar. A standard buckle collar is not suitable for obedience drills as it is not designed for dogs to pull against. Instead, a chain or prong collar is recommended as it puts pressure on your retriever when he chooses not to listen. This correction is not harsh and involves a quick tightening of the collar followed by a quick release. This change in pressure helps your dog understand that you are in control and he needs to listen. Using a chain or prong collar can teach your retriever quickly and effectively, encouraging him to perform tasks quickly and correctly.
At our kennel, we frequently encounter clients who bring their dogs for obedience issues. However, we have observed that the major problem is often the lack of appropriate tools. It is imperative to use the right tools as they make a significant difference in training the dogs.
Obedience drills for retrievers
Walking your retriever on-lead is an important aspect of responsible dog ownership
Taking your dog on a walk on lead is the most common obedience drill. However, owners often face the problem of surging or pulling when walking their dogs. This occurs when the dog appears to be walking the owner instead of the other way around. It is a common issue that needs to be addressed during obedience training.
There are several devices available to help with the problem of teaching dogs to walk obediently, but I personally do not favor them. In my experience, I have been able to quickly train every dog that has been dropped off for training to walk obediently next to me using only a lead and either a chain or prong collar. Therefore, I find that other devices are unnecessary.
Correcting surging or pulling on leash
If you have a dog that pulls and surges while walking, changing directions is an easy and quick solution. When your dog starts pulling, immediately turn and start walking in the opposite direction while making sharp jerks on the leash and chain collar. Say the HEEL command and continue to do this each time the dog starts pulling or surging forward. This correction will help your dog learn to walk calmly on a leash.
When training your dog to stop pulling during walks, it’s normal to experience some initial frustration. It’s not uncommon to find yourself unable to even leave your driveway at first. However, with consistent practice, your dog will learn to pay attention to your movements and direction, resulting in more enjoyable walks for both of you.
Walking with your Retriever off-lead
To transition your on-lead walking dog to off-leash walking, follow this simple progression. Begin by practicing in a safe, enclosed area with no distractions. Gradually increase the distance between you and your dog as they become more comfortable and reliable. Use positive reinforcement and reward good behavior. Consistency is key in this process. With patience and practice, your dog will learn to walk off-leash with ease.
- Practice walks with dog on lead held by you
- Progress to having dog drag lead while walking
- Use lead to make necessary corrections
- After several sessions, take lead off but tuck it into pocket next to dog
- Leave a bit of lead exposed for dog to see
- Eventually, have lead completely concealed in pocket
It is important to bring a lead with you on walks, even if your dog is skilled at walking off-lead. You never know what circumstances you may encounter, and having a way to control your dog is crucial. Always be prepared and bring a lead with you on every walk.
The Sit Command
Retriever owners commonly teach their dogs the SIT command, but often the command is weak. This weakness is evident when owners move or there are distractions, causing the dog to move as well. To strengthen the SIT command, consistency and standards are required. Fortunately, this is not a difficult task.
- Start by having your dog SIT.
- Walk a few feet away from your dog.
- If your dog moves, tell him NO SIT and walk him back to the exact spot where he was sitting.
- Repeat the command SIT.
- Place a piece of tape on the floor or mark the ground in some way to ensure location is extremely important in this drill.
- Take your dog back to the exact spot from which he moved or even further away from you.
- As the dog gets steadier and stays seated, extend the distance.
- Add temptations such as walking in a big circle around him, bending down, or clapping your hands.
- If he moves, take him right back to the spot he moved from and repeat.
- Work on this command to result in a nice strong SIT that you can feel confident in.
Teaching your Retriever to sit on the whistle.
Teaching your retriever to respond to a whistle has numerous benefits. Whistle commands can be heard from a greater distance than voice commands, and can cut through background noise. Additionally, whistles are clear and concise, devoid of any human emotion that may confuse or distract a dog. In my experience, retrievers consistently respond better to a SIT whistle than to a voice command.
When using whistles for dog training, there are only two commands: SIT and HERE. To communicate a SIT command, one toot on the whistle is sufficient. However, the volume and length of the whistle blast may need to vary depending on the distance of the dog from you and the level of emphasis needed for the command to be effective.
A HERE whistle command consists of three whistle blasts in quick succession without any pause in between. The sound produced is typically toot-toot-toot.
- Start with dog in HEEL position and on lead
- Command dog to SIT and immediately blow whistle one toot
- Begin walking with dog at HEEL
- After a few yards, repeat SIT verbal and whistle command
- Repeat several times
- Switch order: whistle command first, then voice command SIT
After consistent repetition, the dog will associate the whistle with the desired action, allowing for the elimination of the voice command.
Sitting at a distance
It’s important to understand that teaching your retriever the SIT command next to you does not necessarily mean they understand it at a distance. The SIT AT DISTANCE command is crucial in teaching your dog to respond to the command no matter where they are. This command reinforces the idea that whenever you say SIT, they must sit down, regardless of their location.
Teaching SIT at distance is a beneficial skill to have as a dog owner. It provides greater control over your retriever when they are off lead, whether you are an upland hunter or simply want more control at home. SIT at distance improves your dog’s responsiveness to your commands and can enhance your overall upland hunting experience.
To teach SIT AT DISTANCE, begin with the dog near you. As the dog learns, gradually increase the distance.
- Say SIT command to the dog while paying attention to its location.
- If the dog moves, bring it back to the exact location using a lead, tab lead or collar.
- Repeat the SIT command after walking back to your original position.
- If the dog still doesn’t SIT, walk towards it while repeating the command.
- Once the dog SITS, say GOOD DOG.
- Give a release command like OKAY and repeat step one after a few minutes.
- Do not move further away until the dog consistently SITS from a few feet away.
- Over time, increase the distance gradually as the dog progresses.
To improve your dog’s response, consistent training is key. Incorporating the SIT whistle along with the command will aid in their understanding. With time and practice, your retriever will learn to SIT on command, regardless of their distance from you.
In conclusion, Obedience training is crucial for your retriever’s overall development. It not only helps in preventing various issues at home and in the field but also enhances their ability to learn other training, such as hunting or competition. If you find it overwhelming to train your retriever or have a busy schedule, Bull Valley Retrievers can assist you with their programs tailored to your goals.

Recent Comments